Showing posts with label CAPTIVATING CREATIONS. Show all posts

Monday, February 4, 2013

Rusty Rave Monday - Polished-Off Projects


It's been a long while...Merry Christmas, Happy New Year and coming up on Valentines Day, already.  Well, how time flies...

Christmas was awesome!  I flew my Son, his wife and my granddaughter out for the week.  It was the best present ever for everyone in our family!  Then I flew to Calgary to be with my husband for a week until New Years, and my husband and I just got back from a business trip in Newport Beach last week...busy!


It has been in my plans to make a Valentine's Day bunting, but I hadn't gotten to it yet.  It may not have happened at all, were it not for my oldest daughter...she came for a visit this last weekend and brought the supplies to make them.  She and I hadn't even discussed it, but just must have been on the same wave length.  Cool, I can check that one off!

 Anyway, I hope you have a happy one!  I probably won't be posting again before then, I've got so much in the works...my life is crazy and unsettled, but I guess, I wouldn't want it any other way!


Also, here's my finished, $5, rickety, vintage ladder, that I was excited about in my last post.  

I tried home-made chalk paint and painted-over-the-paint in seafoam green, with a dry brush to get the blotchy coverage.  I love how it turned out...just what I had pictured in my mind.  Now on to the next big thing!


HAPPY VALENTINE'S DAY!


Friday, July 20, 2012

Plum Perfect Friday - Crafted Characters or Significant Signs


I was inspired, by the following BHG photo, to make this vintage looking sign, so I went to our local Safeway to check the dumpster area for an old pallet.

The perfectly wonderful, shabby pallet.


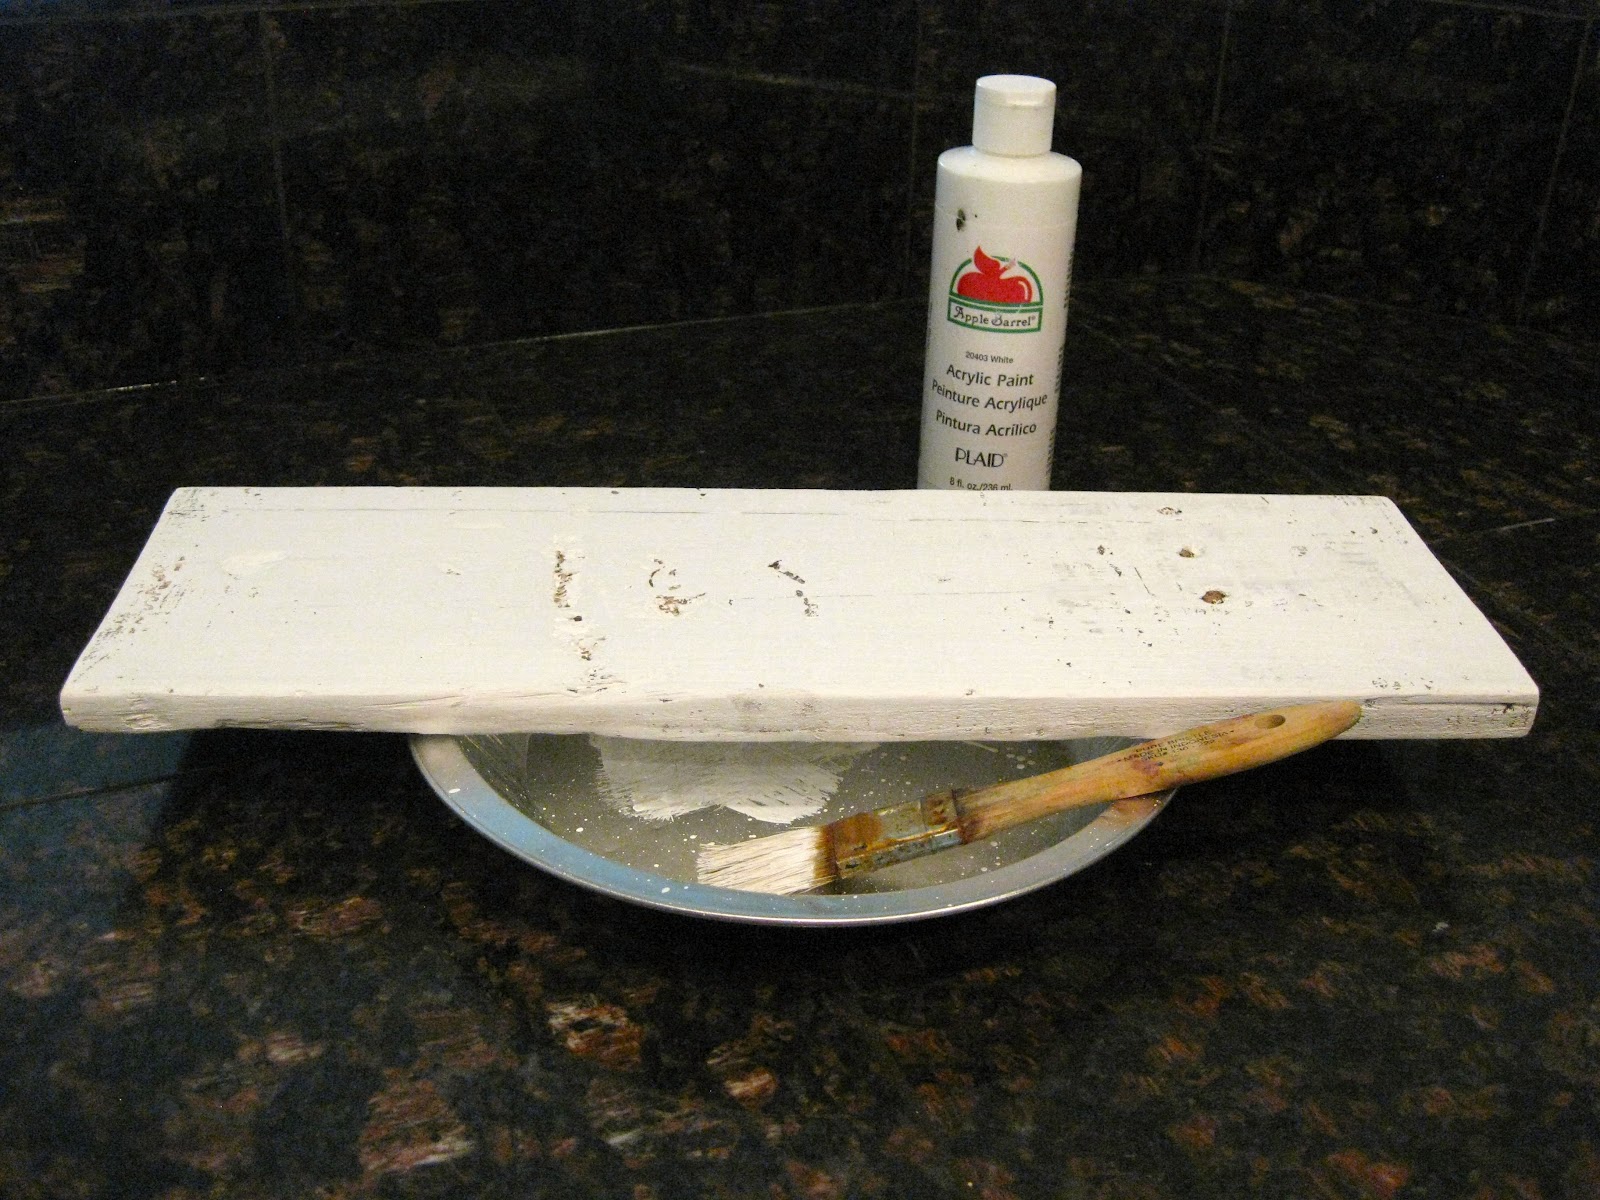
An example of what my piece looked like before I painted it.  (Forgot to get a picture.)


After sanding the coat of paint.


I followed this easy tutorial from Homespun Happenings and printed my letters, then colored the back of the sheet of paper with charcoal pencils.


Traced them onto the board,


then began outlining,


and filling in the letters with a paint pen.


SO EASY...


...that I'm gonna make more!


After more sanding to shabby up the letters.


It only took a few hours to make!


Here is another one I whipped up last week for our house in Canada.  This one was made with vinyl lettering...still easy, but not near as CHEAP!


Have I ever written that I get a thrill from getting a bargain?   See ya next time...


Monday, June 25, 2012

Rusty Rave Monday - Polished Off Projects AND Pillow Pride!

Over the last week or so, I have been in a project frenzy...trying to complete things that I have started and make some new things.  If any of you follow me on Pinterest you know that I have a ton of projects posted that I want to try my hand at.  Here are some of the results, and you just may recognize some of them...


I love this little gem of a wreath!  (It can be found here at Jones Design.)  I recycled some linen napkins that I purchased at the Habitat for Humanity Restore (the same linen napkins that I used in making the following pillows in this post). I created this very close to the original, but of course, made it my own with small silk flowers, an organza ribbon bow and opted for "non-sparkly" eggs.  Part of the beauty of it all was that I had everything on hand and just used whatever I found in my craft supply stashes!


I just adore wreaths...I have them all over the house, inside and out!  This one was from another Jones Design tutorial, found here.  I took the same linen napkins to wrap the form, then added the rolled paper flowers that I made with old sheet music.

After rolling my flowers, I "smushed" the top of them down a bit, so that they looked a little more like real petals, added the paper leaves, and then satin ribbon to finish it off (I wasn't about to spend all day making flowers to fill the whole circle!).

I made this for the entrance to my little "frenchy privy" facilities in the master bath
...and it just makes me happy!

Another idea I discovered on Pinterest found here, a stenciled pillow.  Here again, I made it with a couple of my linen napkins.  Of course, I too, had to have my own quote...that's the beauty of creating your own stuff from ideas that you see around you! 


Mine is actually a quote from Dr. Suess, and if you are a child of the 70's you would also recognize it as the words to the closing song that Carol Burnett sang at the end of her show each week!  I love what it says, as well as, have fond memories of watching that with my mother when I was growing up.

From my sister's blog here at Something Special.  I just love her pillow ideas and I am pretty sure that she got the images from the Graphics Fairy.  Once again, it's the linen napkin re-purposed!


I acquired 2 of these little wood boxes at a moving sale in my neighborhood.  They were painted "checkerboard country cutsey" which was okay, but I had a vision for them...


...so they got painted, and distressed, then the cute drawer pulls were added (purchased at one of my most favorite places, Hobby Lobby).  These will be so versatile for fabulous little vingette's over time...


Last, (but not least by any means) I whipped up this stool idea


found here.  I didn't use Annie Sloane paint, like the decor-chick, just got the idea for a stool that I already had.

I recently visited my son and his family in Texas and while I was there we, of course, went "antiquing".  I found this stunning handmade, scalloped edge, vintage apron.  (I should probably iron it...)  I didn't know how I would display it, but was just delighted with it...then the idea hit me...and I tied it to the stool!  Gotta have a bit of whimsy in your life, too cute!


Thanks for stopping by...until next time...


...here's to the little things that make us happy!